WebUI
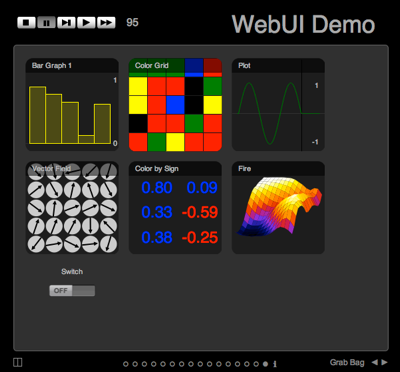
Ikaros contains an integrated web server, which allows a browser to connect to Ikaros to view what is going on during execution. The interface uses SVG together with JavaScript to render controls, images and graphs. The picture below shows an example:
The following types of view objects and controls are available:
Views
Controls
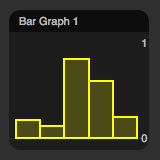
BarGraph |
|
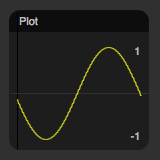
Plot |
|
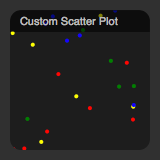
ScatterPlot |
|
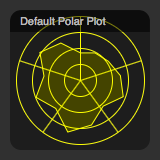
Polar |
|
Plot3D |
|
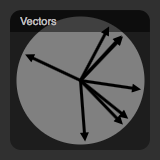
Vector |
|
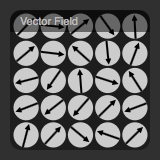
VectorField |
|
Grid |
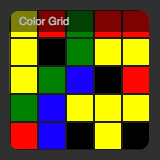
|
Image |
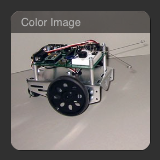
|
Trace |
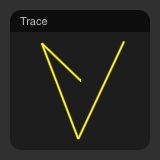
|
Circle |
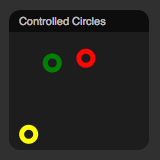
|
Cross |
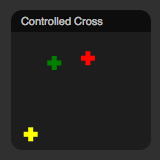
|
Label |
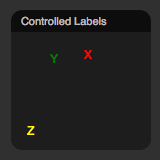
|
Path |
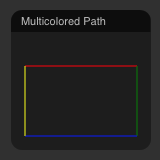
|
Running Ikaros with WebUI
To start Ikaros, cd to the /Bin directory and write (for example)
./ikaros -w8000 ../Examples/WebUI-Demos/web_ui_objects.ikc
The option -w turns on the web interface and 8000 specifies the port used to connect to Ikaros. Since 8000 is the default port this would be equivalend to just specifyingg -w without the number. To connect to the running Ikaros process from the computer where Ikaros is running use the following URI in the web brower:
http://127.0.0.1:8000/
or alternatively
http://localhost:8000/
This connects to Ikaros on the local computer (i.e. 127.0.0.1). To connect to an Ikaros process running on another computer, use the IP address of that computer instead. Beware that the web interface is inherently insecure since it can potentially access any file of the user that started Ikaros. Future versions of Ikaros may be more secure.
If your are running a firewall it may be necessary to allow access to port 8000 (or whatever port you are using) for the WebUI to operate.
A demo of the different graphical objects is available in
Examples/WebUI-Demos/web_ui_objects.ikc
The Controls
When using the WebUI, Ikaros is controlled by the buttons in the left top corner and the view menu to the right.
 Stop The stop button stops the execution of Ikaros. Once the stop button has been pressed it is necessary to restart Ikaros before the WebUI can be used again.
 Pause The pause button pauses the execution of Ikaros.
 Step The step button executes a single tick and updates the view.
 Run The run button starts continuous execution of Ikaros. The view is updated between each tick.
 Fast Forward The fast forward button executes ticks continuously while simultaneously updating the view as quickly as possible.
 Real-Time When Ikaros is started in real-time mode,
this button will run Ikaros using the current real-time settings. It is hidden if real-time mode is not active.
Real-Time When Ikaros is started in real-time mode,
this button will run Ikaros using the current real-time settings. It is hidden if real-time mode is not active.
Specifying a View
The user interface elements can be specified in the IKC file. Here is a simple example that shows the basic use of the different view objects:
<?xml version="1.0"?>
<group title="My Example">
  .
  .
    <view name="My View">
      <object class="BarGraph" module="R" source="OUTPUT" x="0" y="0" />
      <object class="GrayImage" module="R2" source="OUTPUT" x="2" y="1" />
      <object class="Vector" module="R2" source="OUTPUT" x="1" y="1" />
      <object class="Grid" module="R2" source="OUTPUT" x="0" y="1" />
    </view>
  .
  .
</group>
The group is given the title "My Example". This title will be shown at the top of all views. The view is called "My View" and this will be the name listed below the view.
This example defines four view objects. The type of object is set by the class attribute. Their positions (x, y) and size (h, w) are set with the corresponding attributes. The coordinates and sizes are given as integers in a coordinate system with (0,0) in the upper left corner. One unit int this coordinate system corresponds to a predefined size of a view object. The default size is (1,1).
Most view objects also use the attributes module and source to specify from where to read its data. Ojects can also have other attributes that sets various properties. These attributes are documented together with each object (see list above).
Grid
The different object in the view are layed out on a grid where a size of 1 means that the object will fit between two grid lines. The size of the grid can be changed by specifying the two parameters object_spacing and object_size in the view element.
The default values are object_spacing = 15 and object_size = 140.
Automatic Transparency
It is possible to place several objects on top of each other. This will automatically make the background trasparent for all object except the one in the back. This feature can for example be used to draw markers such as circles, lines or crosses on top of an image or a grid.
The example below shows how automatic transparency can be used to draw a cirle in the center on top of an image:
  <view name="My View">
    <object class="Image" module="R" source="OUTPUT" x="0" y="0" />
    <object class="Circle" x="0" y="0" />
  </view>
Specifying Colors
Colors can be be specified in the different ways summarized in the following table:
| Type | Example |
|---|---|
| Named color | "red" |
| Transparent | "none" |
| Hexadecimal color | "#f00" |
| Hexadecimal color | "#ff0000" |
| Color with alpha channel | "rgba(255,0,0,0.5)" |
| List of colors | "#00d, green, #ef0, yellow, rgba(50,0,100,0.5)" |
| Color look up table | "LUT_Spectrum" |
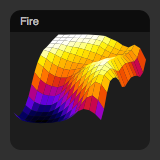
The available look up tables are LUT_gray, LUT_fire, and LUT_spectrum.
When a list of colors is specified, the list is repeated until all elements have been assigned a color. For example, setting the colors of a bar graph to "red, green" will alternate red and green colors for all the bars. The color 'none' can be used to make an element invisible.
Compatibility
The current version eatures a new user interface that is based on HTML 5. Although it is similar in most respects to the earlier versions it has been almost completely rewritten to allow for future functions such as an interactive editor and various control objects.
The old SVG drawing engine is now gradually replaced with HTML Canvas code to increase the speed.
| OS | Browser | Status |
|---|---|---|
| OS X | Safari 8 | OK |
| OS X | Chrome 39 | OK |
| OS X | FireFox 33 | OK |
Files
WebUI.h
WebUI.cc
WebUI/*